3D Printed Brake Van
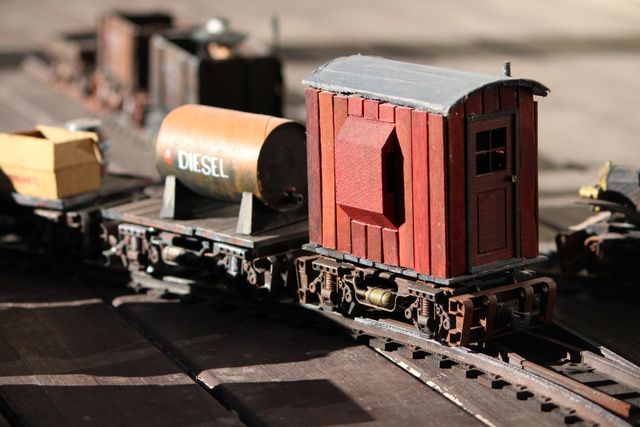
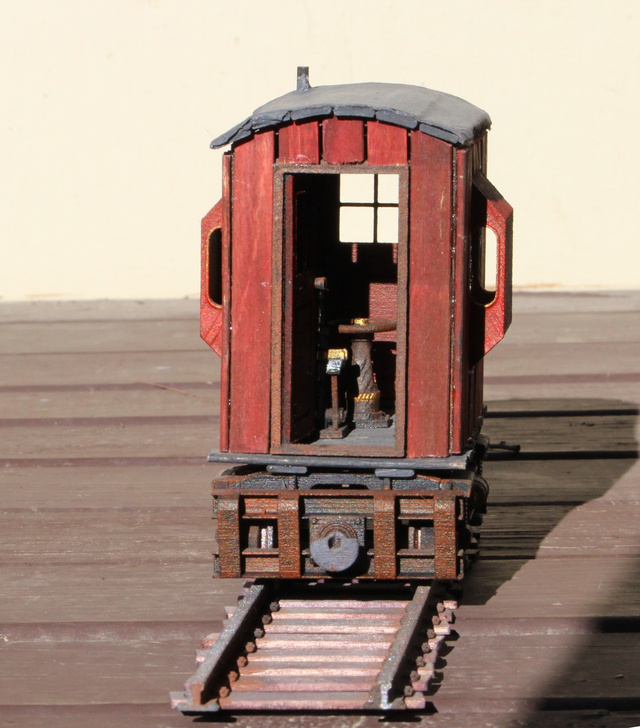
Continuing with my theme (obsession maybe) of narrow gauge rolling stock I decided what I really needed was a brake van. I was keen to make the wooden panelling and roof from coffee stirrers seeing as I had an unlimited supply of used ones from the cafeteria at work. I also had a generic truck chassis waiting for something to go on it. All that I needed to do was do a bit more design for some features to go inside the brakevan as well as details such as the window bits and door assembly.
The model presented here were printed using SLS and so will need support. They should print okay if using resin printing. If you are looking for an equivalent FDM chassis, then I’d suggest grabbing the chassis on this page - 3D Printed Mine Truck. I have also produced some printable STLs for the walls, roof, and floor which I had made using the coffee stirrers – just in case anyone would prefer to print these pieces. Inside the brake van is the brake lever and brake handle and the two window seats. I made the seat cushions from air-dry clay.
As I have mentioned in some of my other railway model posts, had I known about the OS railway gauge, I would have designed this to conform to that. The gauge here is 36mm rather than 32mm for the OS Railway. A little bit of scaling in your favourite slicer should fix that if you are wanting this as an OS Railway scale item.
Parts List
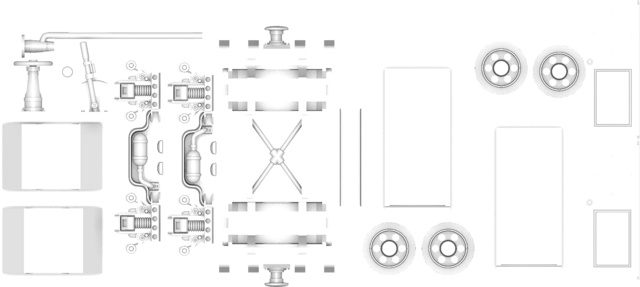
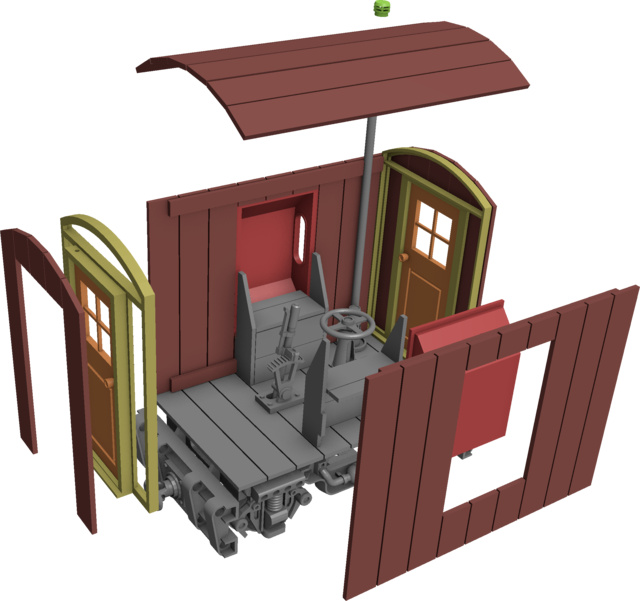
If you’re going to print the chassis and details but make the floor, walls, roof, and seating from wooden coffee stirrers, then the parts shown above are the ones you need. The part file names all contain the quantities you will need.
- BrakeVan-BrakeHandlex1.stl
- BrakeVan-BrakeLeverx1.stl
- BrakeVan-ChassisFramex1.stl
- BrakeVan-ChassisSide1x1.stl
- BrakeVan-ChassisSide2x1.stl
- BrakeVan-ChassisSparx1.stl
- BrakeVan-ChimneyCapx1.stl
- BrakeVan-DoorFramex2.stl
- BrakeVan-Doorx2.stl
- BrakeVan-Stovex1.stl
- BrakeVan-Wheelx4.stl
- BrakeVan-Windowx2.stl
You will also need a pair of thin wooden dowels for the axles.
For anyone wanting to print the walls etc, then you will also need these files. The end walls include the door and frame. These are bundled into the Brakevan-Extras.zip file linked below.
- BrakeVanv1-EndWall1x1.stl
- BrakeVanv1-EndWall2x1.stl
- BrakeVanv1-Floorx1.stl
- BrakeVanv1-Roofx1.stl
- BrakeVanv1-Seat1x1.stl
- BrakeVanv1-Seat2x1.stl
- BrakeVanv1-WoodenWall1x1.stl
- BrakeVanv1-WoodenWall2x1.stl
Downloads
The digital models can be downloaded using the links below:
and
Assembly
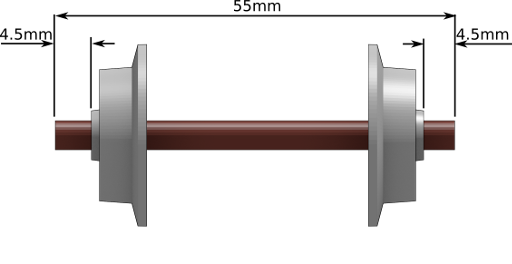
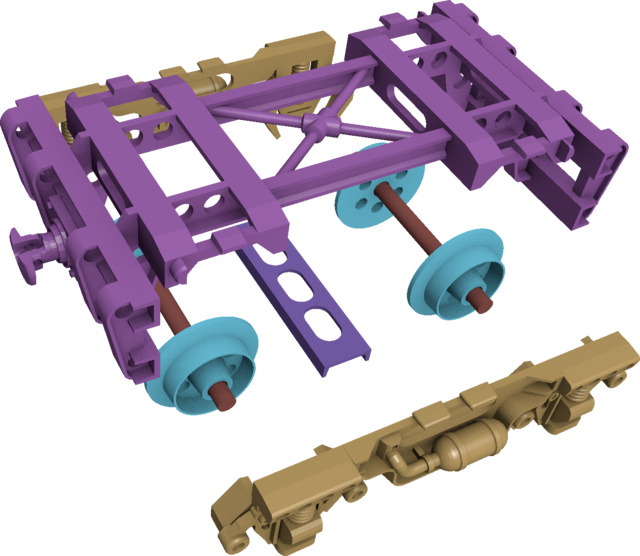
Cut the axles from wooden dowels and position the wheels as shown (for 36mm gauge rail). Glue the wheels with superglue or PVA. Either will work okay.
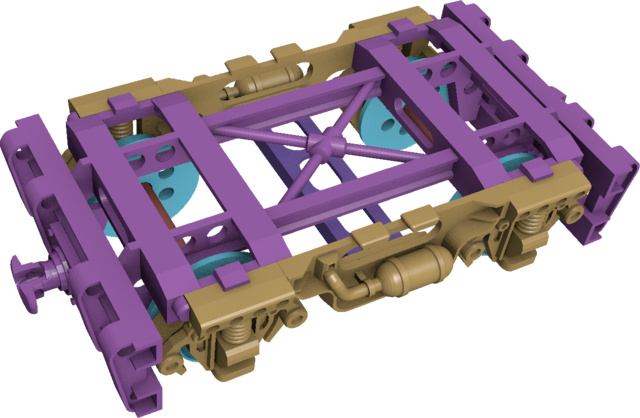
Assemble the truck parts as shown. There are various locators and sockets included in the design, so it should all be aligned when you bring it together.
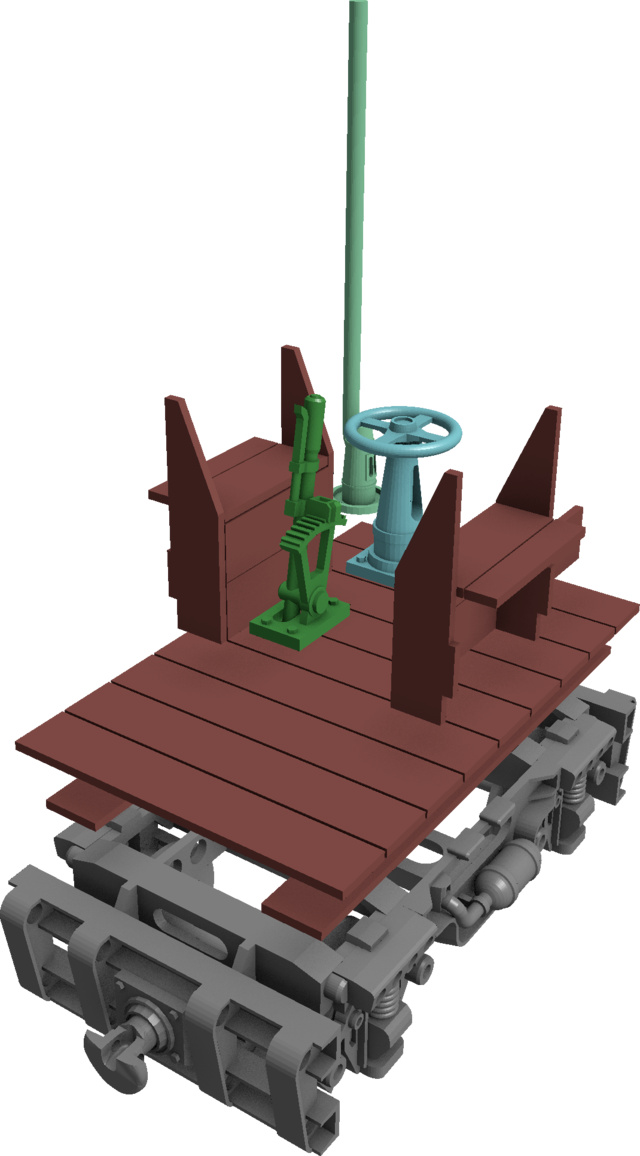
Once you’ve added the floor, you can install the brakes, stove, and seats. Allow sufficient room for the doors to open inwards. The two brake components are designed to go along the centreline of the brakevan. Position the stove flue adjacent to the wall.
Finally add the walls and roof. A layer of wetted PVA soaked tissue over the roof can make it look like a sheet of metal over the wood.
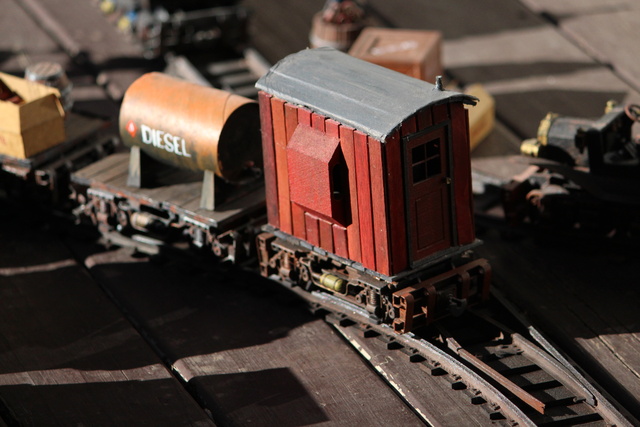
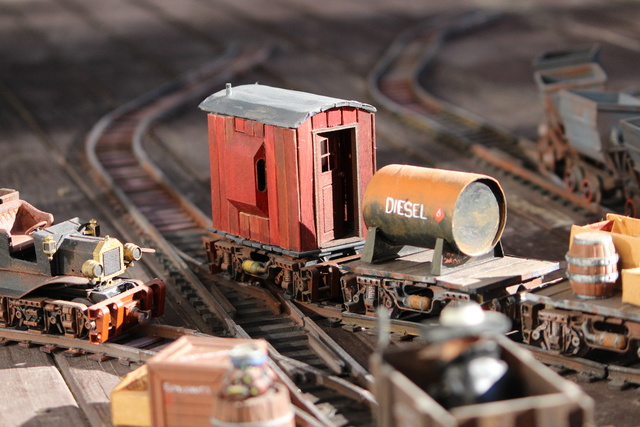
Photos of the finished object


This design by Hamish Trolove is licensed under a Creative Commons Attribution-NonCommercial-ShareAlike 4.0 International License.
