Turning a Text List into Inkscape Text Objects
Updated 1st March 2018: New version is tidier and spaces the text elements out a little to ensure the original text order in the file is retained.
I quite enjoy board games and story telling games, and have had a crack at designing a few of them including the Nettlebed Caverns game which is available in a draft form on this webpage. One of the hallmarks of my story telling games is that they have a HUGE number of cards….like 300 or so. This gives a lot more scope for variety in the stories and, well actually, it is a heap of fun making up what is going onto the cards.
Writing out the list of cards in a word processor is fun. Writing them out again into a graphics package of some sort to lay them out as cards is a bit of a chore, particularly when you are dealing with 300 or more of them. So I felt there was a need for a simple script to take a list of text, and turn it into a heap of text elements in a vector based graphics program. Once the text was in the graphics program I could then use its tools to lay out the text nicely.
I knew that Inkscape’s native file format (SVG) was just an XML so this was an obvious choice for the output. After a couple of tests, I observed that there was a block of unchanging XML at the start, and a convenient XML block for each text element. This meant that creating a quick and dirty python script that took each line in a text file and turned it into a separate text element in an SVG was relatively simple. I included a simple vertical spacing between the lines to ensure the line order was retained when it was brought into Inkscape. From there the final locations can be set using Inkscape’s Object Distribution tools.
The python script does not use any libraries and so will run on the most basic python installation. As you will see, the vast majority of the script is putting the XML header into the file created.
You can download the python script with the links below:
Having said all that, I put Inkscape aside and developed an alternative and somewhat better toolset for use with Scribus. The two pages that describe the scripts for distributing text and images can be found on the webpages below;
- A Scribus script to take a text list and distribute it across a multipage grid.
- A Scribus script to apply a business card size images across a multipage grid.
The Script
# TXT2InkscapeXMLv3.py

# A simple Python 3 script to look through a list of text and
# turn each line into an xml entry for use in Inkscape.
# in this script we will slightly spread the text to allow
# the user a better chance of retaining the order of their
# initial text.  Inkscape can be used to spread it out
# using the Align and Distribute Tool.


ofilenm = str(input("What is the filename you wish for output?"))
outfile = open(ofilenm,"w")

ListFlm = str(input("What is the name and location of the TXT file to work with?"))

Loctn = 75 #Vertical position to start text insertion
SpacingV = 25  #The vertical spacing between lines.

# The block that follows is the Inkscape standard header.
TextBlockA = '''<?xml version="1.0" encoding="UTF-8" standalone="no"?>
<!-- Created with Inkscape (http://www.inkscape.org/) -->

<svg
   xmlns:dc="http://purl.org/dc/elements/1.1/"
   xmlns:cc="http://creativecommons.org/ns#"
   xmlns:rdf="http://www.w3.org/1999/02/22-rdf-syntax-ns#"
   xmlns:svg="http://www.w3.org/2000/svg"
   xmlns="http://www.w3.org/2000/svg"
   xmlns:sodipodi="http://sodipodi.sourceforge.net/DTD/sodipodi-0.dtd"
   xmlns:inkscape="http://www.inkscape.org/namespaces/inkscape"
   width="744.09448819"
   height="1052.3622047"
   id="svg2"
   version="1.1"
   inkscape:version="0.48.4 r9939"
   sodipodi:docname="New document 1">
  <defs
     id="defs4" />
  <sodipodi:namedview
     id="base"
     pagecolor="#ffffff"
     bordercolor="#666666"
     borderopacity="1.0"
     inkscape:pageopacity="0.0"
     inkscape:pageshadow="2"
     inkscape:zoom="0.35"
     inkscape:cx="375"
     inkscape:cy="520"
     inkscape:document-units="px"
     inkscape:current-layer="layer1"
     showgrid="false"
     inkscape:window-width="1280"
     inkscape:window-height="742"
     inkscape:window-x="-2"
     inkscape:window-y="-3"
     inkscape:window-maximized="1" />
  <metadata
     id="metadata7">
    <rdf:RDF>
      <cc:Work
         rdf:about="">
        <dc:format>image/svg+xml</dc:format>
        <dc:type
           rdf:resource="http://purl.org/dc/dcmitype/StillImage" />
        <dc:title></dc:title>
      </cc:Work>
    </rdf:RDF>
  </metadata>
  <g
     inkscape:label="Layer 1"
     inkscape:groupmode="layer"
     id="layer1">'''

TextBlockB = '''<text\n
        xml:space="preserve"
        style="font-size:10px;font-style:normal;font-weight:normal;line-height:125%;letter-spacing:0px;word-spacing:0px;fill:#000000;fill-opacity:1;stroke:none;font-family:Sans"
        x="93.910118"
        y="'''
TextBlockC = '''id="text2989"
        sodipodi:linespacing="125%"><tspan
            sodipodi:role="line"
            id="tspan2991"
            x="93.910118"
            y="'''

outfile.write(TextBlockA)

# The section that follows is to build the SVG text elements
f = open(ListFlm,"r")
for line in f:
    TXTLine = line.strip()
    Loctn = Loctn + SpacingV
    InsertStrng1 = str(Loctn)+'"\n'
    InsertStrng2= str(Loctn)+'">'+TXTLine+'</tspan></text>\n'
    outfile.write(TextBlockB)
    outfile.write(InsertStrng1)
    outfile.write(TextBlockC)
    outfile.write(InsertStrng2)

# The next section is the close off for the SVG xml.

outfile.write('  </g>\n')
outfile.write('</svg>\n')

outfile.close()
print("Done")
How to use the script
To use the script follow the steps outlined below:
-
Save your list as a plain
TXTfile that only contains the list of items you wish to appear in the Inkscape illustration. Start up your python environment. I use Pyzo, but you could equally well use the terminal to run the script if you have an operating system with python already present. -
Load and run the script.
-
The script will ask you what you want to call the file it produces. Give some name with the .svg suffix. Your file will appear in the same directory as the script.
-
The script will then ask you to identify the list file that you are wanting processed. You will need to include the pathname, eg
/home/user/Documents/junk/List.txt, or just place the list in the same directory as the script. -
After you have entered the list file, the script will rport “Done.” and you wil have the command prompt back. You should see your new .svg file in the same directory as the script.
-
Open the .svg in Inkscape. You will see your text layed out a bit like this;
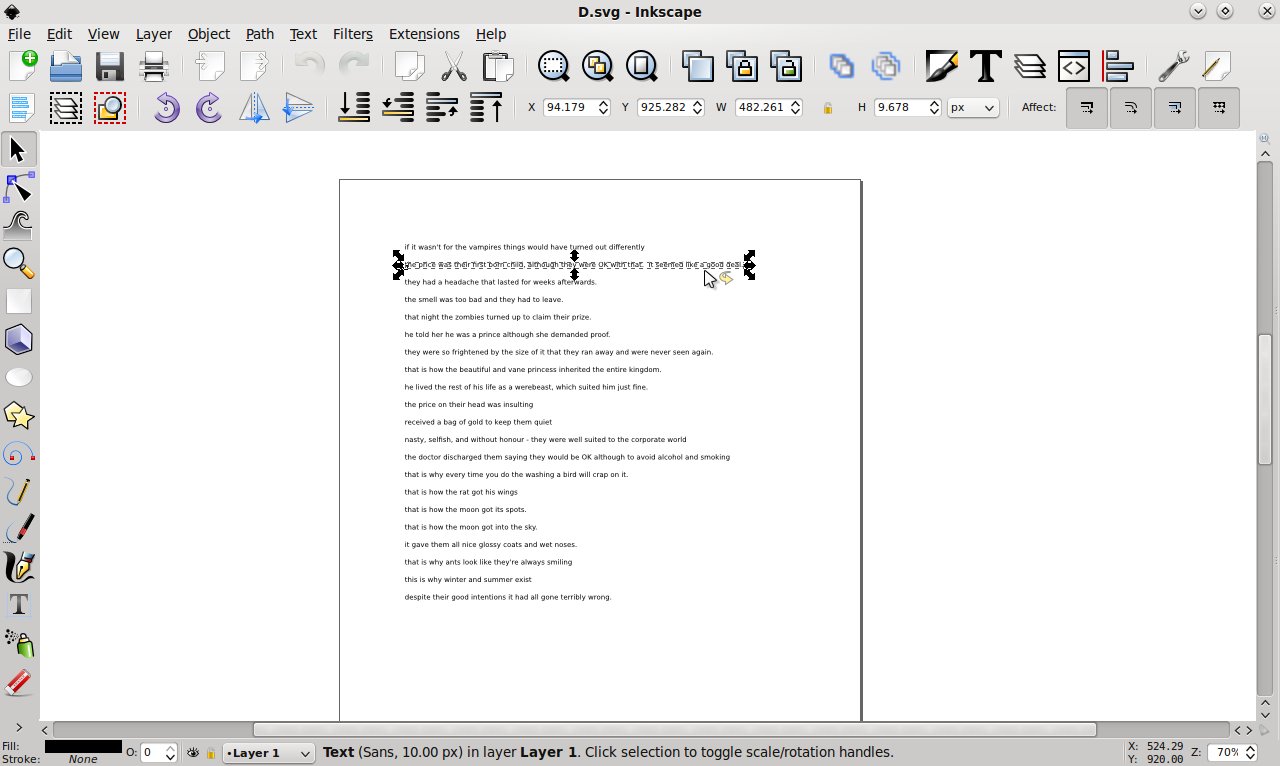
Each line of text is a seperate element. Click on the image for a larger view.
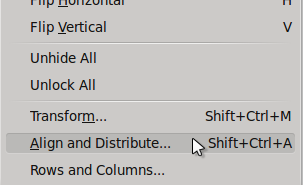
- If you need to spread it around a little more use Inkscape’s Object >Align and Distribute panel (Shift+Ctrl+A)
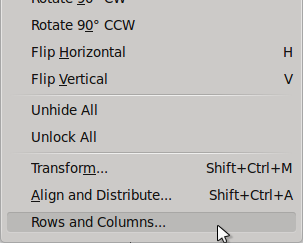
- Or, to create a grid, there is a panel for distributing elements across a grid. You can find this under menu Object > Rows and Columns.
- If you find you’d prefer the script to lay things out better from the first instance, you can change the vertical spacing by changing the line;
SpacingV = 25 #The vertical spacing between lines.
So now the list is a distributed series of text objects in Inkscape without having to retype them in. Yayyy!
And now that you have read all the way down here, here is an even better way of doing this. Check out the following pages doing the same thing in Scibus.
- A Scribus script to take a text list and distribute it across a multipage grid.
- A Scribus script to apply a business card size images across a multipage grid.
Even bigger Yayyy!