Creating Seamless Spherical Textures
From time to time you will have found a need to produce a seamless spherical texture…..without ending up with a completely spak looking mess at the poles. The type of project where you might need to do this is a planet texture for Celestia where the type of planet you are looking to create has not got a polar ocean or icecap to hide the distortion at the poles.
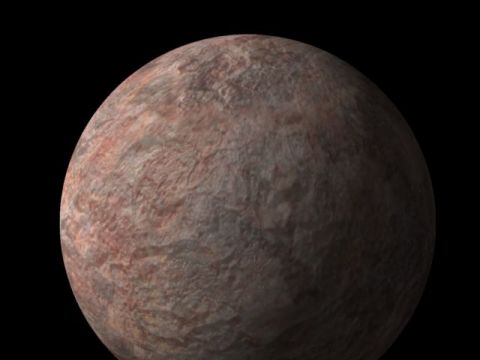
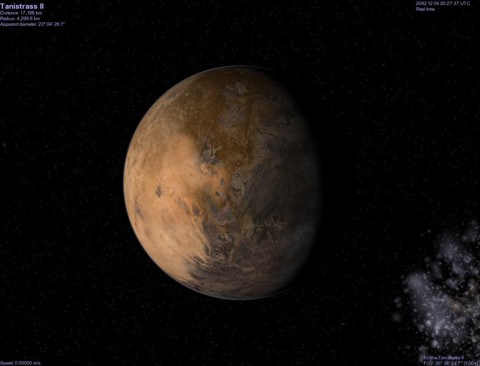 Celestia Image of two face planet
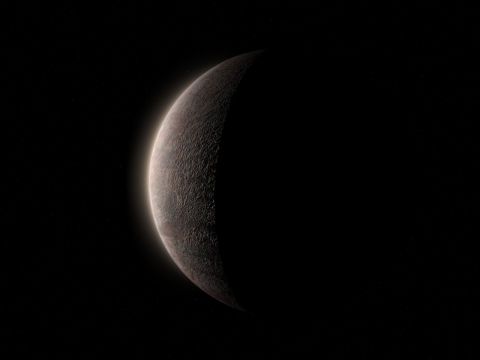
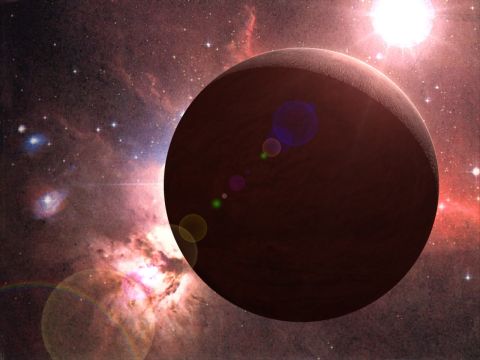
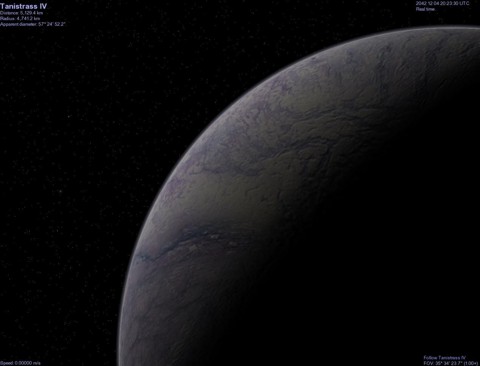 Celestia Image of icy planet
Gather your resources
When you are out and about, cart a camera around with you and keep an eye out for textures that might be useful for you. Rocks, mud, lichens, even the remains of dinner burnt onto the bottom of the frying pan can be interesting and make a good planet texture.
Other sources of images are aerial photos that can be obtained off the web from some sources. A good one for free orthophoto images is www.linz.govt.nz – navigate through to the maps pages and then to the orthophoto download index/diagram. Google maps may be a useful source as well as scanned bits of satellite images from books.
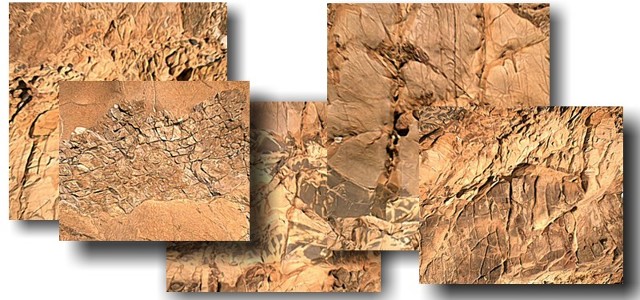
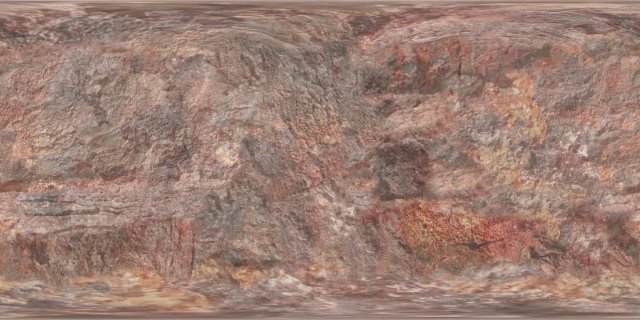
Gather the images that you will be drawing on to build up your spherical texture. In the illustration given here, the texture is for a rocky planet, and so the basic textures will be images of rock surfaces.
Make the texture – part 1.
The first step is to make up a texture that you will make horizontally tile-able, then ultimately into a true spherical texture.
Start a new image in your favourite image processing package. This illustration will use Corel Photopaint but the steps are the same if you are using the GIMP or Adobe Photoshop. The new image must have the proportions 2 wide x 1 high. If you are intending to be using your texture in such a way that you will be looking at it quite closely in the final render or application, then you will want quite a high resolution image. 2048 x 1024 is reasonable, but 4096 x 2048 is better.

From your resource images, copy and paste out bits that you would like to see in your spherical texture. Try to use bits of the resource images that are as flat-on as possible. Paste these bits of images into your new texture, making sure they overlap and are all on separate layers.
Push the elements and layers around, rotate them, etc to your heart’s content until you are happy with the rough layout. Swap to your erase tool and make it reasonably feathered. Working with each layer or element soften the edges and refine the shape to capture the features you want. At the end of this process your image will be looking pretty hot, but not tile-able.
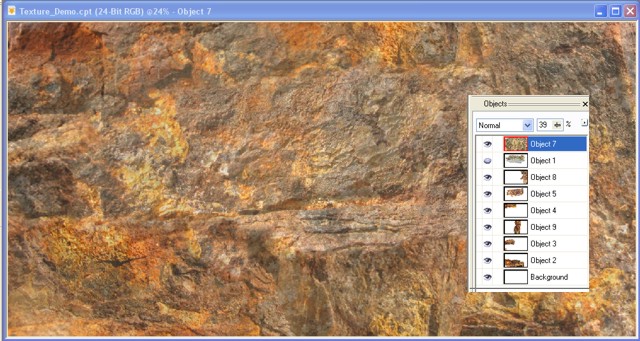
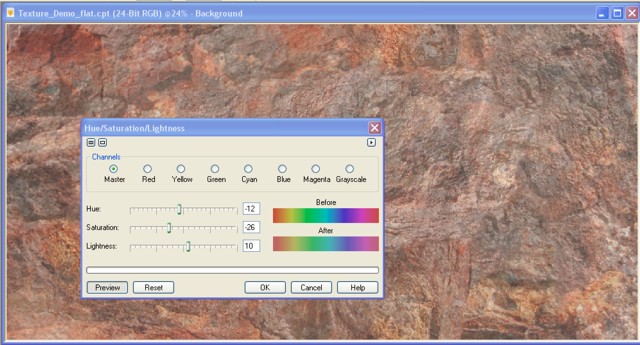
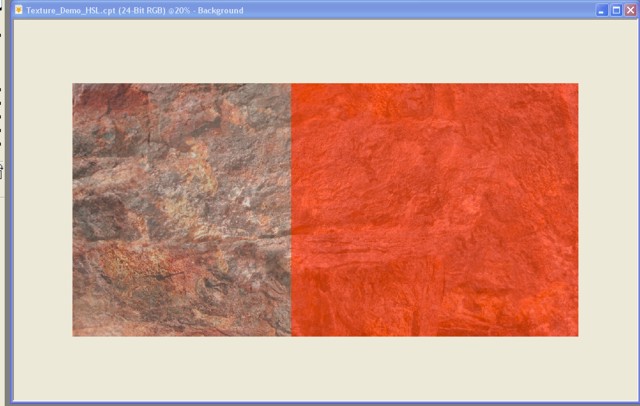
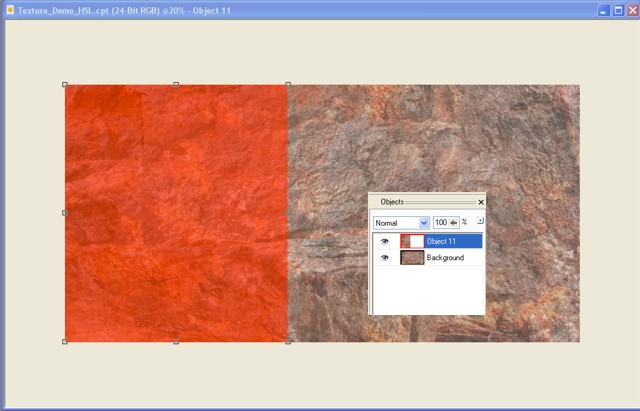
While you still have the elements and layers as separate entities you may wish to use the colour balance and brightness/contrast tools to make the different parts of your image more harmonious or at least more appropriate levels of lightness and saturation. In cases where you are looking for a very uniform colour across the texture, it is worth flattening your image into the background layer, then use the saturation tool to desaturate the image almost to a greyscale. After that, then you can add in a colour wash over the top or use the colour balance tool to shift the image colour to target colour by playing with the colour sliders.
Flatten all of your layers into the background if you have not already done so.
Making the texture – part 2
You now have a texture image which looks great but is not tile-able. The next step is to make this texture horizontally tile-able (aka, a seamless cylindrical texture).
Save your work under a new name so that you are not using your original texture - because it will be useful later.
Some image manipulation packages have tools built into them to automatically make an image tile-able. They are good and a perfectly good option. The down side is that you may have to sacrifice a considerable area of your wonderful and carefully patched together texture. Doing it manually allows you full control over your texture and how it ends up looking.
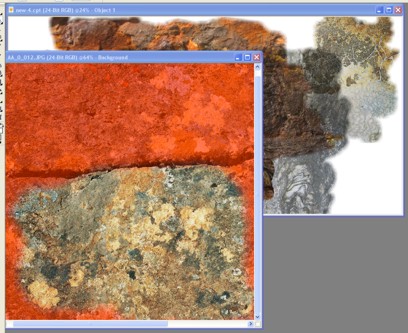
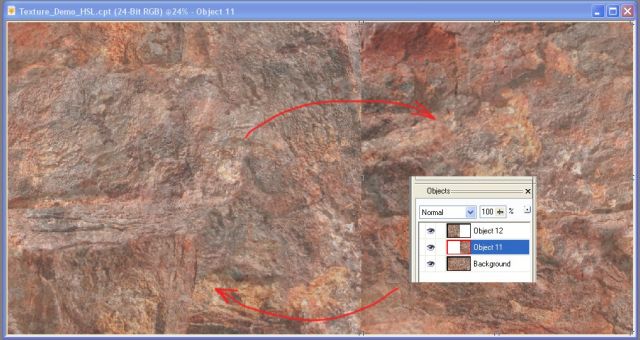
With your texture open, drag out a roughly square-shaped mask/selection that encompassed the full height of the texture, and one end of the texture. It will end up looking like shown below. Note that the selection does not have to be exactly half of the image.
Copy your selected area and paste it directly back into the image as a new layer. Invert the mask so that it selected the other end of the texture.
Ensuring the background is active, copy and paste the other end back into the original image as a new layer. Now you have the image with a copy of each end of the image as separate layers. Using keyed in values or the cursor keys to nudge the two layers, move each one to the opposite end from where they were in your original image. Your image will look something like this;
Using a combination of the clone tool or just erasing with a feathered erase tool though to expose the underlying background, blend out the join line between the two half layers.
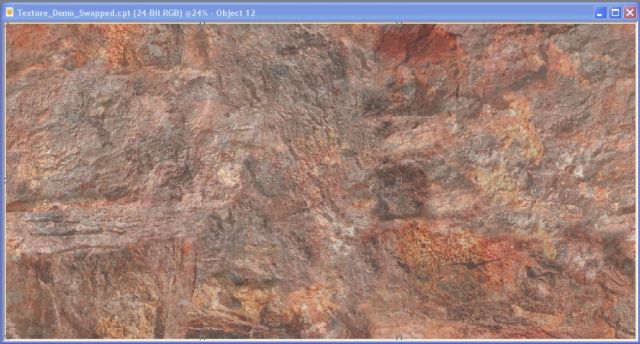
Save your image, then flatten it if you are happy with it. If you are REALLY happy with it, save it again. The texture is now horizontally tile-able. It will look good if you wrap it in a cylinder as it will appear seamless. It will still look a bit naff around the poles. Now we get tricky.
Dealing with the poles
For sorting out the poles an essential tool is a 3D modeling and rendering package that has a spherical camera or fisheye camera with a lens angle of 360°. The one used in this tutorial is Carrara.
First of all prepare the textures you would like to see at the poles. The easy solution is to clip out a couple of square images of say 1024x1024 from your original non-tile-able image. These will contribute to your two polar textures. Save the two new images.
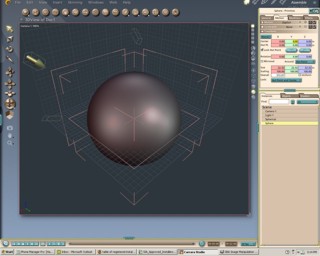
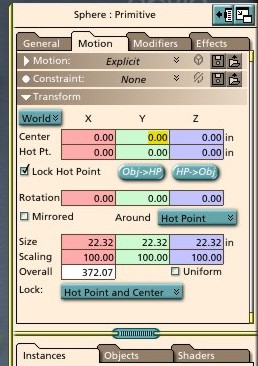
In your chosen 3D package start a new scene and insert a sphere. Using the key in position dialogue under the motion tab, put the sphere’s centre at the model space origin 0,0,0. Make your sphere large enough to avoid clipping problems when it comes to rendering the sphere. In Carrara just make it so that it fills the working box.
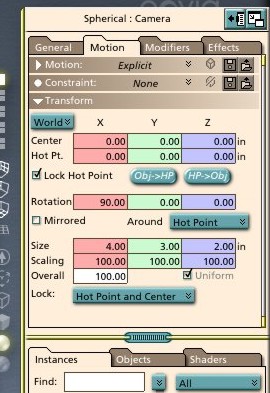
Now add your spherical camera. Again locate the camera at the origin and rotate it so that it is facing horizontally.
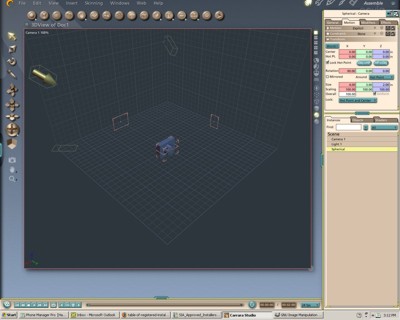 The camera would normally be obscured by the sphere, but we have left out the sphere for this illustration.
With your sphere selected open up the texturing “room”.
The next step is to project your two square images flat onto each of the poles. The image must be applied to the Glow channel so that the spherical camera inside the sphere has something to see without the need to add lights.
In the shader tree set the texture to be a Layer List and activate two layers. For both of them set them to be Flat Mapping (refer to the image shown) and select one to be the top surface and the other to be the bottom surface.
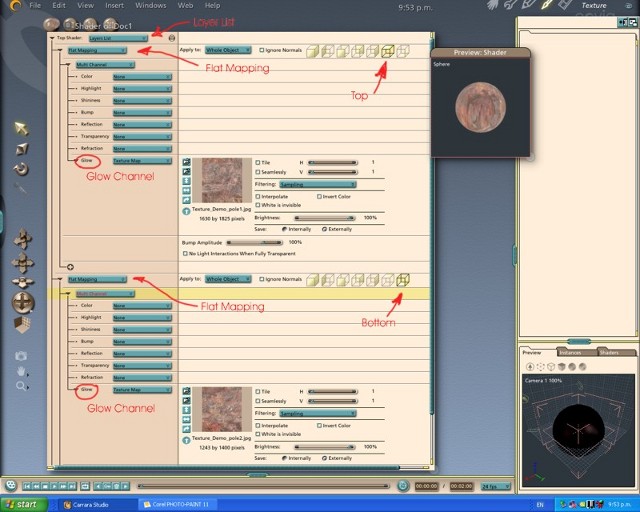
Under these two Flat Mapped layers set up your Multichannel texture by turning all channels to none except for the glow channel. Into glow channel load your polar textures, one in each layer.
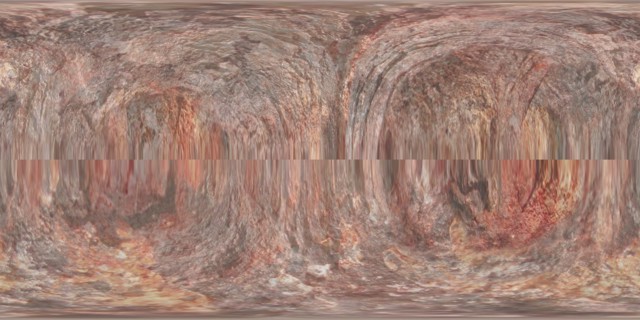
Render the polar texture image.
The setup is now complete and you will be able to render the image that will be used in conjunction with your cylindrical texture to make the spherical texture.
Go to the render room and click on the Output tab. Select the Spherical Camera as the rendering camera, and set the output image dimensions to match your seamless cylindrical texture i.e. 4096x2048 pixels.

Hit the render button.
Once the render has been completed, save the file.
You will have something that looks a bit like this…..
OK – that’s done you can close down Carrara or whatever package you are using.
Putting it together
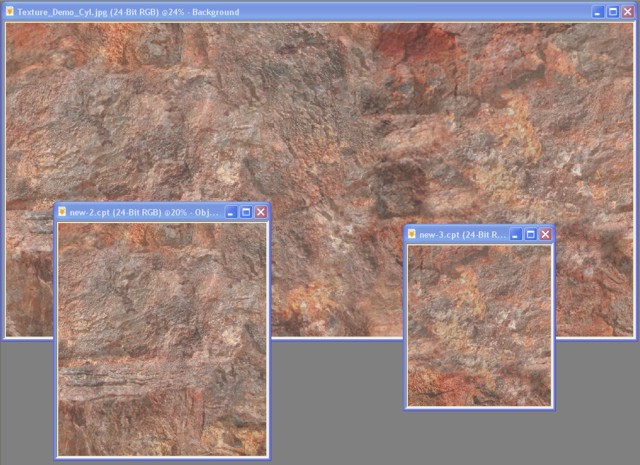
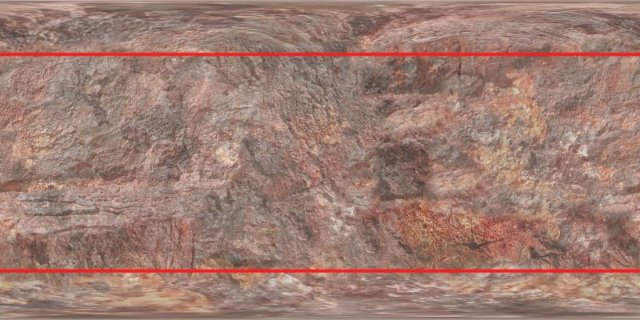
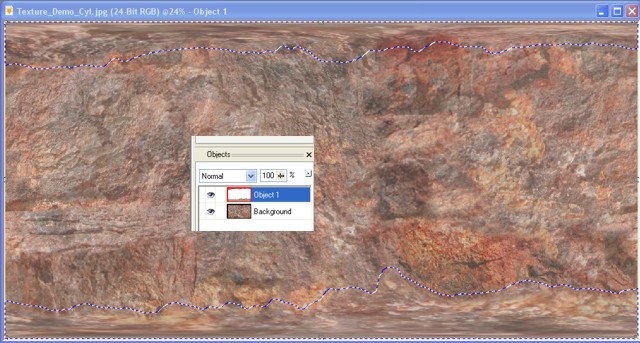
Back in your favourite image processing package, open up the seamless cylindrical texture, and the newly rendered polar texture image. Copy the polar texture image and paste it over the seamless cylindrical texture. Make sure the polar texture image layer is active and start judiciously erasing the central region all the way up to maybe 10-15% of the image height away from the edge. Use a very soft edged eraser tool and follow features to some extent to capture interesting forms near the poles. The thing to watch out for is that the erased bits on either edge of the image pretty much match – otherwise you will get a tiny bit of a seam turning up. It may help to add a new layer and paint on some guidelines to use.
When you are done, flatten the image, and save it as a different name.
And that’s it.
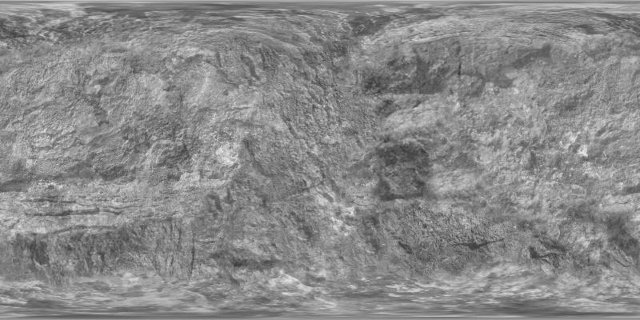
To make use of your texture, just map it directly onto a sphere using a spherical or cylindrical mapping. If you need a bump map, just play around with your texture’s contrast and brightness, then turn it into a grayscale image. Save it as another image and use it in your model in the bump channel.
If you are going to use your texture in Celestia, then you will need to change the format to a .dds format. XnView is a great programme for doing the conversion. You can use low resolution .jpg images in Celestia but to get smooth performance with high resolution images you will need to use the .dds format.
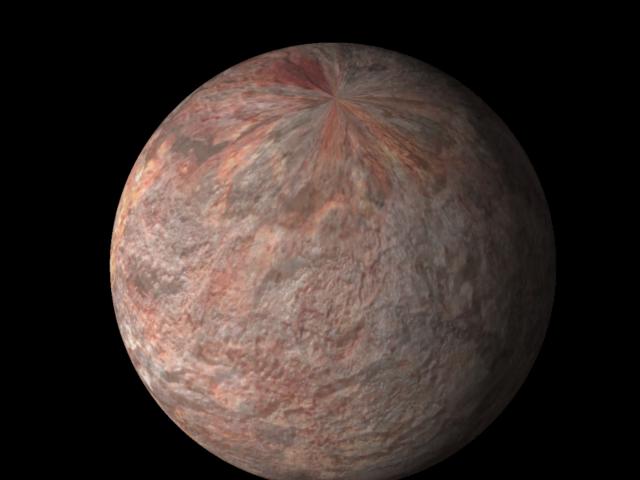
Rendering of the texture on a sphere showing the poles. Can’t see them? Then that means we have done our job right.
If your texture is a planet, then there are some excellent tutorials around on making up atmospheres and adding a heap of polish to your image.
Check out Kixum’s “One way to make a planet” tutorial which can be found on the Renderosity website for making really cool planet atmospheres in Carrara, and Enrico Valenza’s brilliant tutorial “How to make a realistic planet in Blender”.
Have fun. Hamish Trolove 13 April 2009
The new texture in use with a render done in Carrara complete with an atmosphere based on the methods outlined by Kixum.
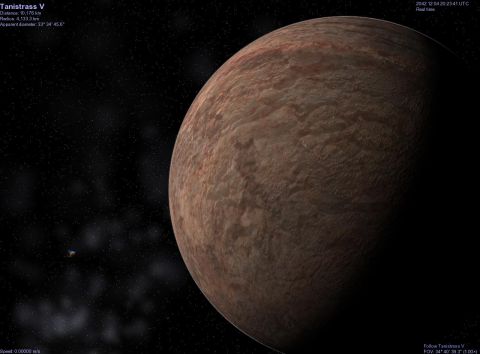
The new texture in use in Celestia.
Some Planet Textures to Download
If you are looking for some premade textures to use on your planet models, you can find a bunch of them in the Texture Galleries page.