SpinBoxes in Godot3

I have been playing around with the Godot Game Engine recently to find a suitable alternative to the Blender Game Engine and to Pygame. With the incredible ease with which I can deploy games and applications developed with Godot, I think I have found an excellent alternative.
It has been a rapid learning curve for me as I grapple with a new scripting language and new way of working. Luckily the Godot developers have created a very logical system. The challenge has been finding information on how to do stuff particularly where there are some significant differences between how things are done with Godot 2 and Godot 3. Between reading the manual, looking at various forums, and a huge amount of just trying stuff out to see if it works I have been able to make some progress. To make it easier for others, I am keen to share some of the solutions I have found.
In this article I will demonstrate a couple of solutions for creating Spinboxes for GUIs.
Using the SpinBox Node
Say you wanted to create a standard-ish looking GUI interface which included a Spinbox to select a number from a range. Godot has a Spinbox node.
We shall set up a very simple scene that produces the following exciting GUI. All it does is print the number selected in the SpinBox when the “Go” button is pressed.
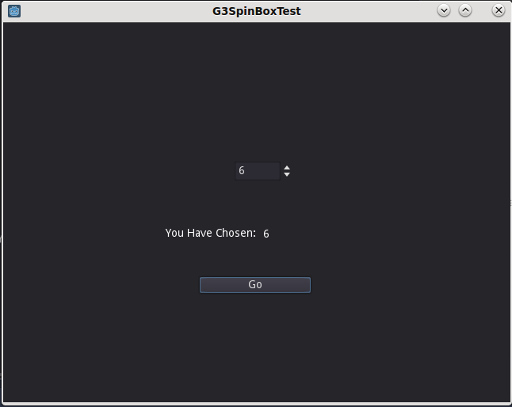
Download the demonstration project from here: G3SpinBoxTest.zip
The scene is comprised of;
- a Panel for the root node (renamed “GUIPanel”),
- a Button node (renamed “GoButton”),
- two Label nodes (called “StaticLabel” and “ReportLabel”),
- and the SpinBox node.
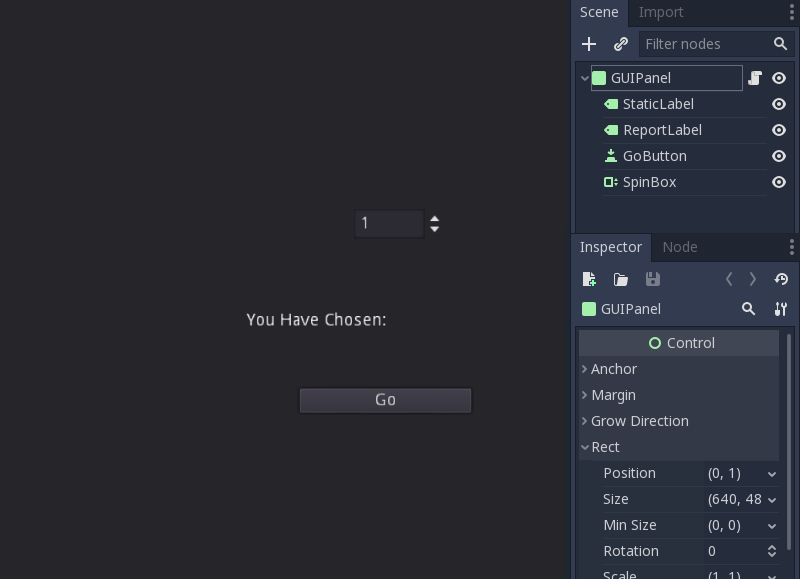
Click on the image for a larger version.
The Panel, and the Labels are all using the default settings with the only changes being the Panel’s Size which is set to match the project’s window size (640x480) and the StaticLabel’s Text field which contains the phrase “You have Chosen:”
Similarly the Button is just a default button with the only change being the addition of the “Go” to the Text field.
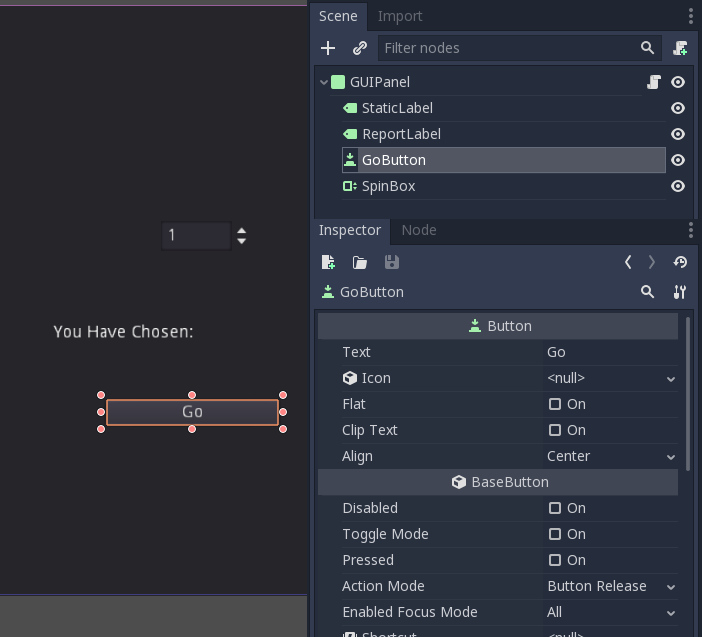
Click on the image for a larger version.
The Spinbox is also pretty much the default except that the range it covers has been limited and an initial value has also been specified.

Click on the image for a larger version.
These can be set using the “Min Value”, “Max Value”, and “Value” fields under the Range parameters.
In order to make it all work, a script is required. Attached to the Panel node is the following script:
extends Panel

func _ready():
	get_node("GoButton").connect("pressed",self,"ReportListItem")
	pass

func ReportListItem():
	var ItemNo = get_node("SpinBox").value
	get_node("ReportLabel").set_text(str(ItemNo))
	print(ItemNo)
When the “GoButton” is pressed the script runs the “ReportListItem” function. This function gets the current value from the SpinBox node and reports it through the “ReportLabel” text. It also prints it out to the console.
So, a simple and easy to implement SpinBox. It can be made a bit smarter with the application of Themes.
Creating a Spinbox using TextureButtons and Labels
The previous example produced a nice easy to use Spinbox, but maybe you want something a bit more flash looking that fits the rest of your interface. Here is a bare-bones example of how you might do this.
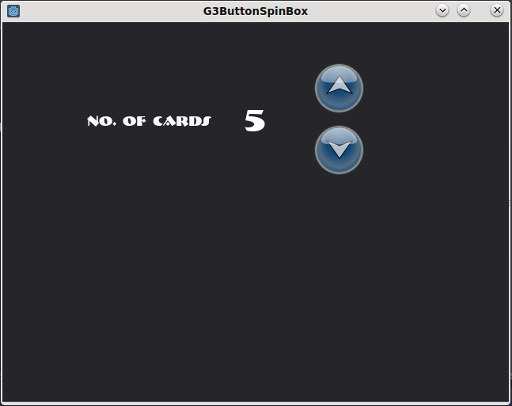
When the interface is running, the two buttons respond to mouse clicks and mouse hovers by changing their texture. The number steps up or down in response to clicking the up and down button. Like the SpinBox in the previous example we have preloaded it with a value and limited the maximum and minimum numbers. In this interface we don’t have the option of typing in a number as we did with the SpinBox node in the previous example.
You can download this project here: G3ButtonSpinBox.zip
Again, the scene is quite simple with only the following nodes;
- a Panel node as the root,
- two TextureButtons which have been renamed “UpTButton” and “DownTButton”,
- and two Labels which have been renamed “Static Label” and “OutputLabel”.
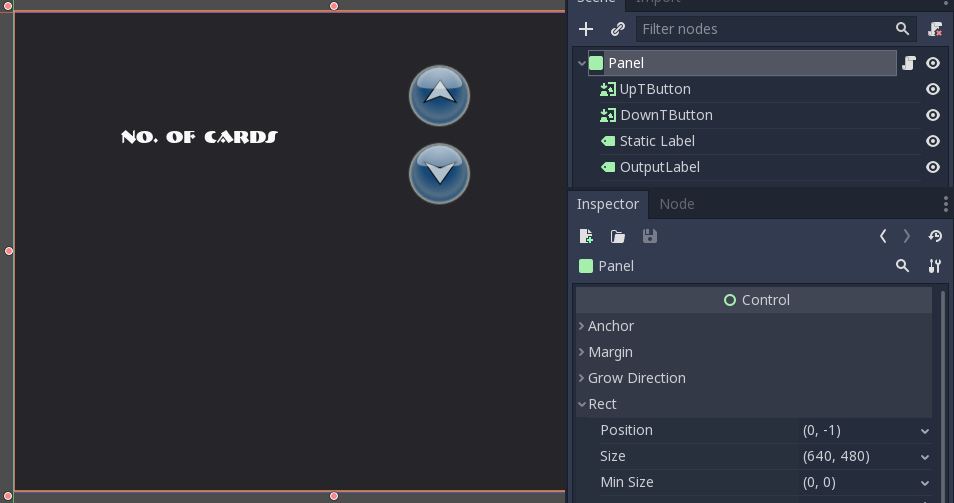
Click on the image for a larger version
The two TextureButtons have been loaded with three images each to represent the three states, Normal, Pressed, and Hover, for each button.
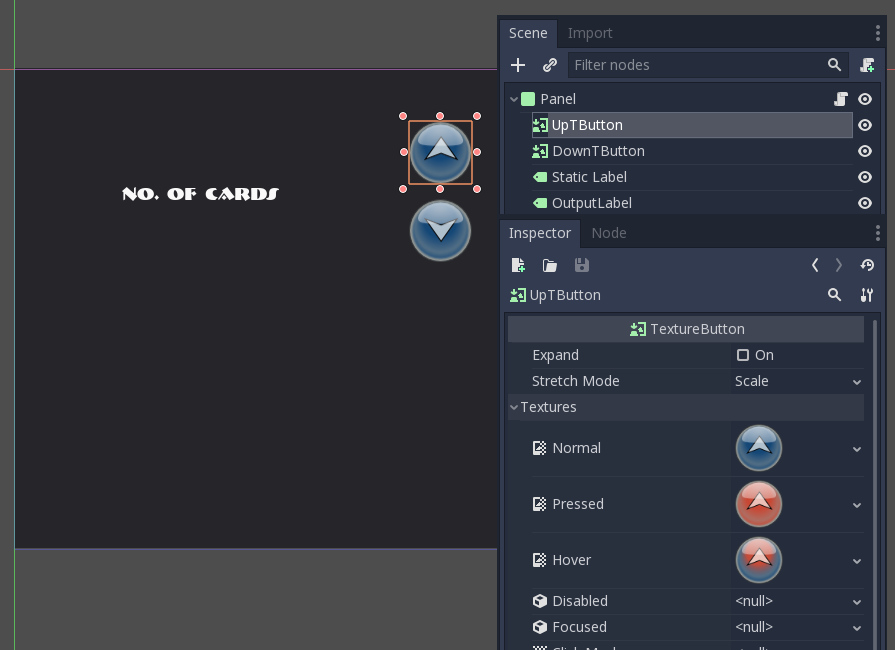
Click on the image for a larger version
The two Labels have been loaded with a custom font, “bremenk.ttf”. In the case of OutputLabel the font size has been set at 40.
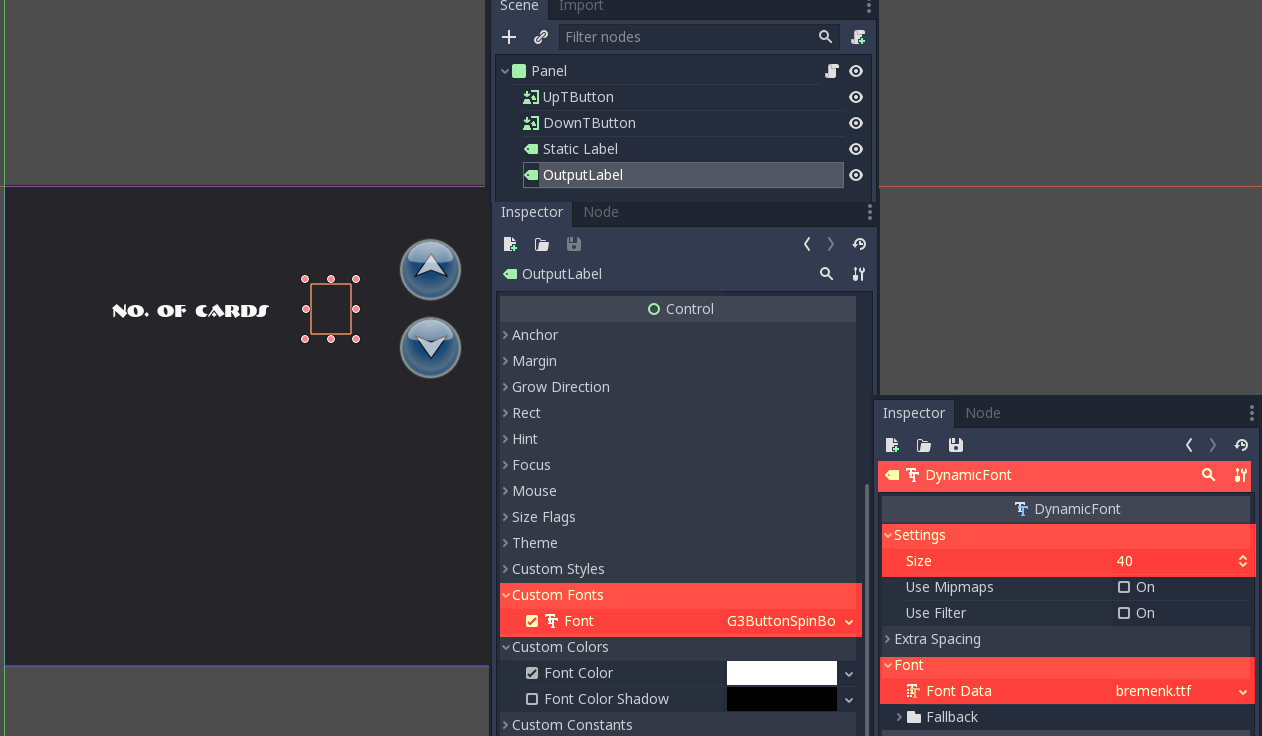
Click on the image for a larger version
A script is attached to the Panel root node.
extends Panel

var DaValue = 3  #this is the variable to hold the number we will work on.

func _ready():
	get_node("UpTButton").connect("pressed",self,"IncrUp")
	get_node("DownTButton").connect("pressed",self,"IncrDn")
	get_node("OutputLabel").set_text(str(DaValue))
	pass

func IncrUp():
	DaValue += 1
	if DaValue > 8:  #Setting a top limit
		DaValue = 8
	get_node("OutputLabel").set_text(str(DaValue))

func IncrDn():
	DaValue -= 1
	if DaValue < 2:  #Setting a bottom limit
		DaValue = 2
	get_node("OutputLabel").set_text(str(DaValue))
The script initially sets the number’s value to 3. The two buttons run two functions “IncrUp” and “IncrDn” which act upon the value to increment it up or down depending on which button is pressed.
…and that’s it. Easy.
You can find an article on the Item List Node here: The ItemList Node in Godot
and the article on OptionButton nodes in Godot 2 here: The OptionButton Node in Godot2
You can also find an article on exporting your project to Android and other platforms here: Godot: Exporting Projects to Android and Other Platforms